
Building a Bookcase
Opalyn revisits one of her projects as part of her permaculture work
Posted October 6, 2020 – Project Completed: May 2012
Opalyn:
Books, Books, and More Books
NOTE: I found this article in “deep storage” and wanted to get it posted today. This project was completed in May 2012 and I promptly moved it into my space and filled the shelves.
Windward’s book collection continues to grow and while it is currently housed in two bookcases, all my books are in storage, except the ones that I keep on my desk or nightstand 🙂
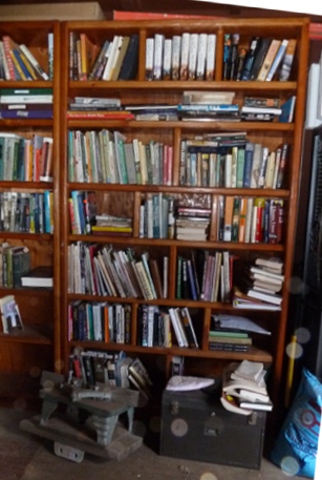
Given that I have a small space that I would like to dedicate to books and reading, I decided to follow the design of the above bookcase and make one for my books.
Cut List:
- two 8′ 2x12s – cut to book case height
- one 8′ 2×12 – cut to 47″ (two pieces)
- three 8′ 2x10s – cut to 47″ (six pieces)
- one 8′ 2×8 – cut to shelf heights (three pieces at 12″ and six pieces at 9 inches)
- one 8′ 2×4 – cut to 47″ (two pieces)
- one sheet of ½” plywood – trimmed to bookcase height minus one inch
Pieces
One of the 2x12s was cut into two pieces measuring 47″. Both long 2x12s and one short piece have a ½” by ½” notch cut out and the other 47″ piece is trimmed by ½”.
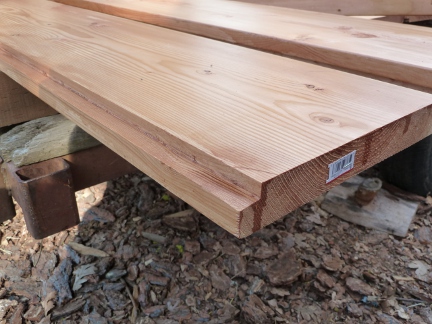
One of the notched 2x12s
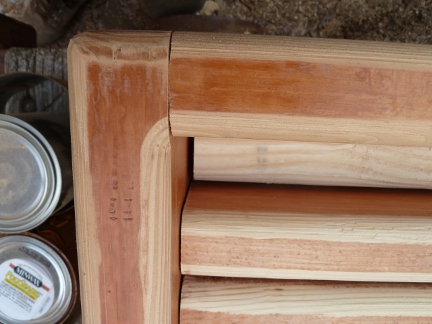
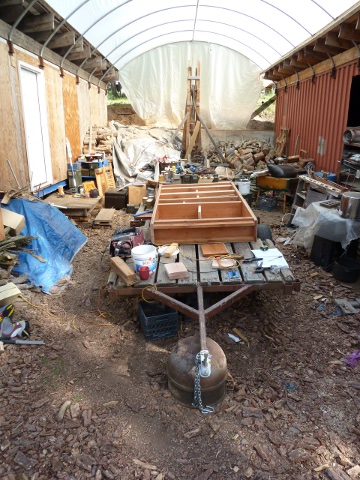
Find a large flat space—I used our flat trailer—and lay out the 2x12s with the notched sides up and facing towards the middle. The un-notched/trimmed piece goes about 3.5″ from the bottom. Assemble the frame using 3″ screws and check for squareness as you go. I decided to put one screw in at each corner then lay the sheet of plywood down into the notch.
With the plywood seated in the notch, I added screws so there are three at each joint. The 2×4 pieces get attached and act as a toekick or riser for the bottom shelf. Next, I used a pneumatic brad gun to attach the plywood to the frame. With some help, I turned over the book case frame and routed all the edges of the frame as well as the edges of the 2x10s and 2x8s. Do not route the ends of the boards.
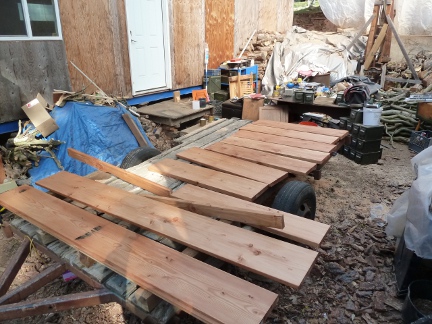
The frame and some shelves with rounded edges
Here is that big flat space I was talking about. It is a covered area between two shipping containers which provided some shade and protection from this morning’s drizzle.
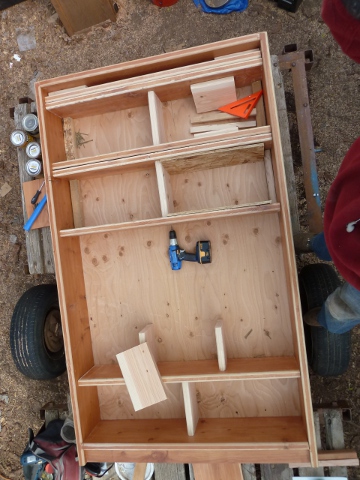
The frame is assembled and the shelves are laid out
To get an idea of how everything will look and how it needs to go together, I laid out the shelves and risers. Each riser will have two screws in the top and bottom and each shelf will have two more screws at each end through the frame.
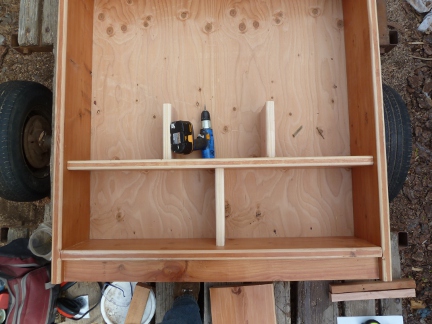
First Shelf Ready
Each shelf needs to have its riser attached before screwing the shelf into the frame and the riser below it since the drill does not fit between the shelves.
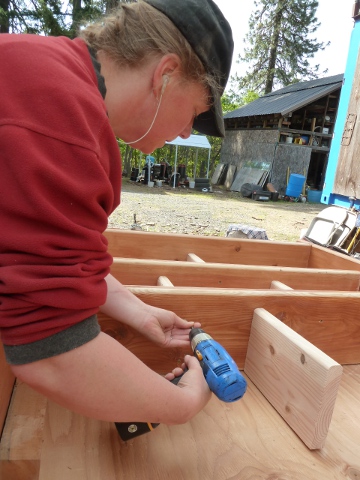
Second shelf getting its riser attached
Since the next shelf up has only one riser, I used some scrap to keep the shelf level as I attach its riser. I also used spacers so that the risers would have uniform placement.
Attaching the shelf to the risers below
With the riser attached the shelf was slid down into place and attached to the risers below it. Next the shelf ends are attached to the frame.

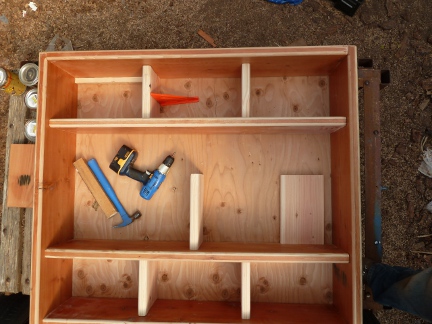
Installing the next set of risers
Continue attaching risers, sliding the shelf into place, screwing into the riser below and the side walls until you have only two more shelves to install.
Another Shelf Installed

Make sure the shelves are level when screwing them to the side walls
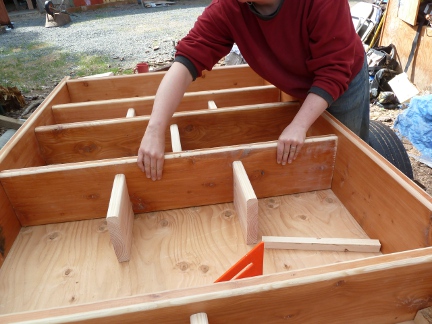
Now for the top two shelves. Before you attach the next shelf, you need to attach the risers to the top shelf before you run out of maneuvering space.
Attach the risers to the top shelf
Then remove the top shelf and install the shelf on the 12″ riser. Here you can see the spacers I used to keep the shelf level.

A section of wall built using the old forms
The last shelf slides back in and gets attached to the top and sides of the bookcase. Now you can sand the screw holes and stain the bookcase. Also, turn the bookcase back over and attach the plywood to the shelves.
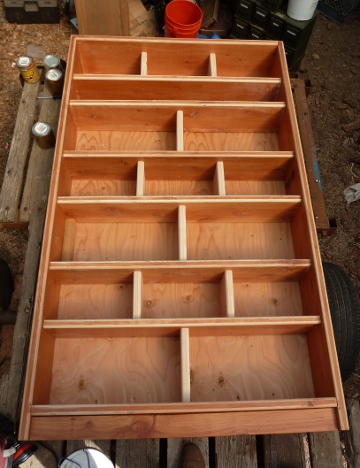
Finished
Time to gather some friends and move the bookcase inside.